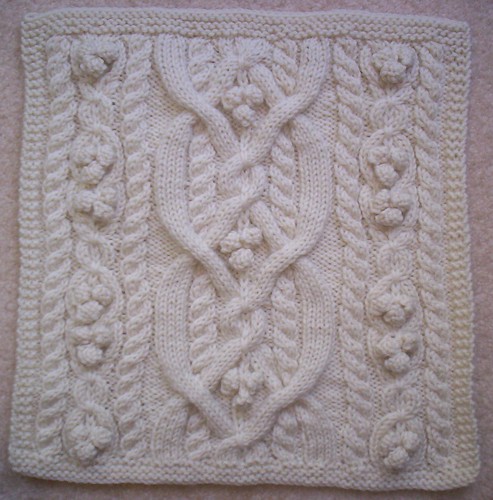
I went down a needle size and this square still came out a smidge oversized (12-1/4”W x 12-1/2”H, after wet blocking). You can see it's a little taller than it is wide. It would have been even taller, except that I trimmed a few rows off. I ended the lower border with a RS inc row and then started the charts on Row 2 (instead of working a foundation row consisting of the last row of each chart, which would have meant two more rows). Correspondingly, I ended the patterned section with Row 2 of chart C, and incorporated the cables of Row 3 into the RS decrease row of the upper border.
Fidgety business: I found that the M1P’s distorted the reverse stockinette too much, so I replaced each with a backwards loop cast on in the previous row. And in Row 25 of Chart C, just to be consistent, I replaced the SSK and K2tog by P2togs by borrowing a purl stitch from each neighboring panel.
Here’s a hint I saw on Ravelry just after I finished: use two different-colored DPNs for the cable calisthenics. (By the way, Ravelry has a group devoted entirely to this project, and it's full of helpful and amusing people.) The tightness of the stitches while working those multi-strand cables made working this square physically tiring and hard on my wrists, but the high "ooh pretty" factor gives you a pretty high return on your investment.
 I've almost finished the Salazar square, too. Here's a shot of the center section; I've got the borders done and sewn on now. Maybe I'll finally wrap up the chain stitching this afternoon.


